Reactivity
SISBID 2025
https://github.com/dicook/SISBID
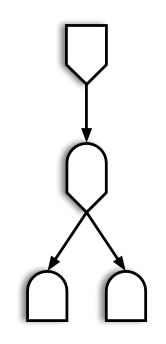
Elements of Reactivity
- Sources
- Any input widget is a source
- Conductors
- Use input and pass values to another component
- Observers
- Any output is an observer
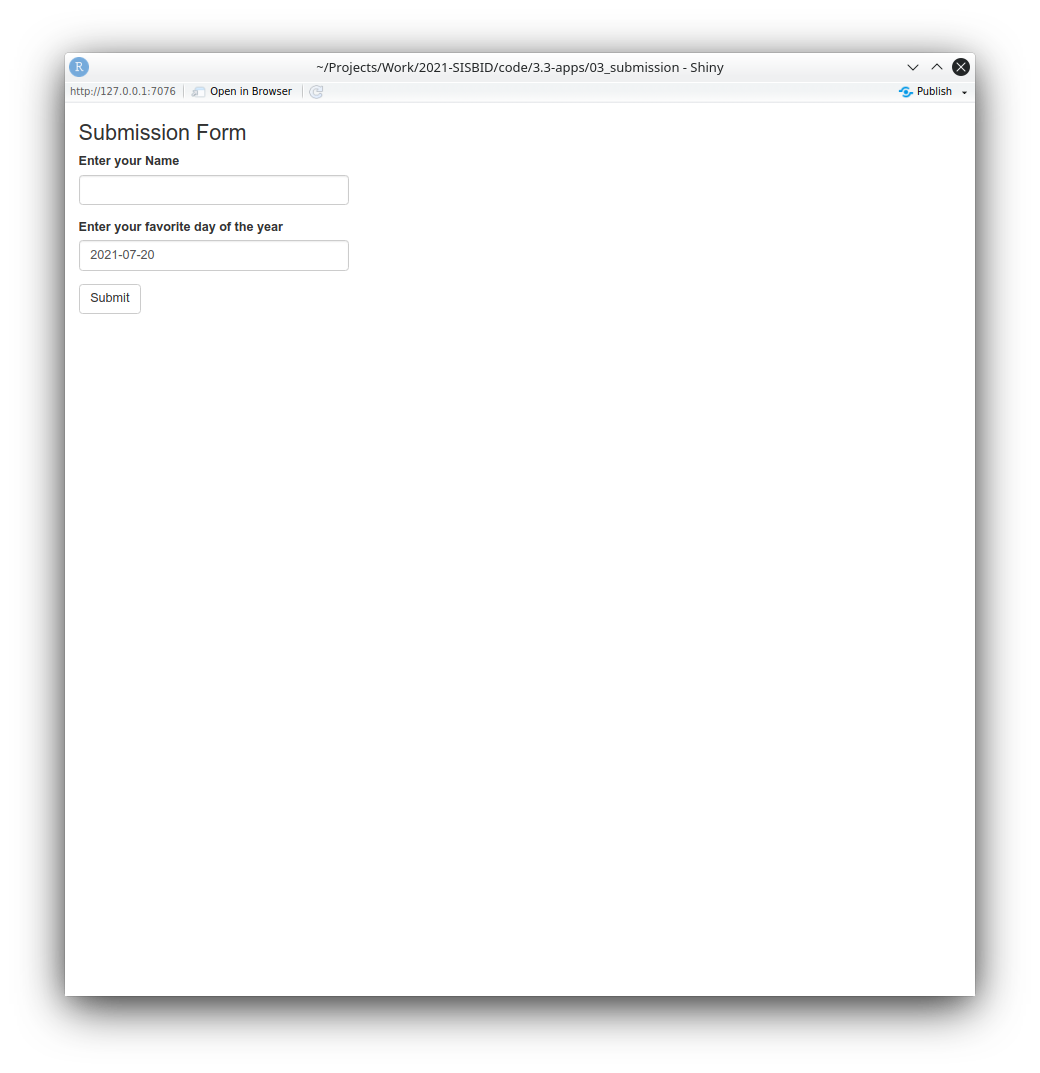
Example: Submission Form
Your turn
- Open the file
03_submission.R - The package
colourpickerimplements a color wheel as an input widget - Allow users to change the color of the dots in the dot plot
- What other interactive elements can you think of adding?
Answers are in 03b_submission.R

05:00 Conditional Panels


- Showing a color picker before it is needed could confuse app users
conditionalPanel(condition, ...)allows us to encapsulate elements of the UI and only show them whenconditionis fulfilled
- Here, a condition of
condition = 'input.submit > 0'is true when the submit button was pressed at least once.
- This is implemented in
03c_submission.R
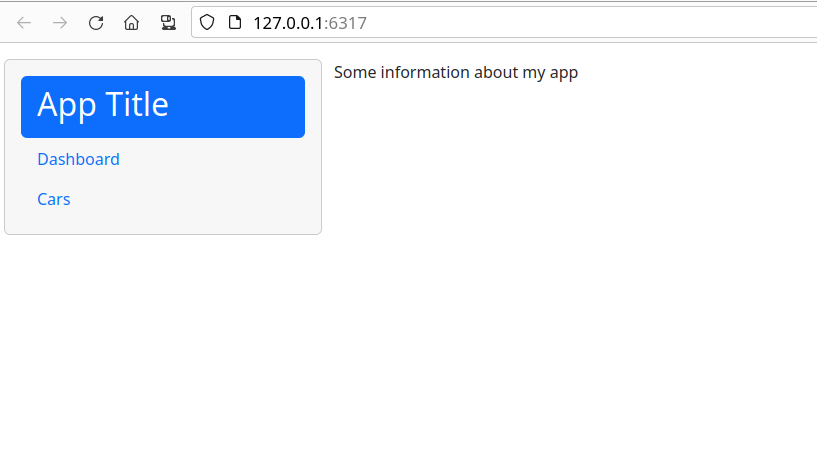
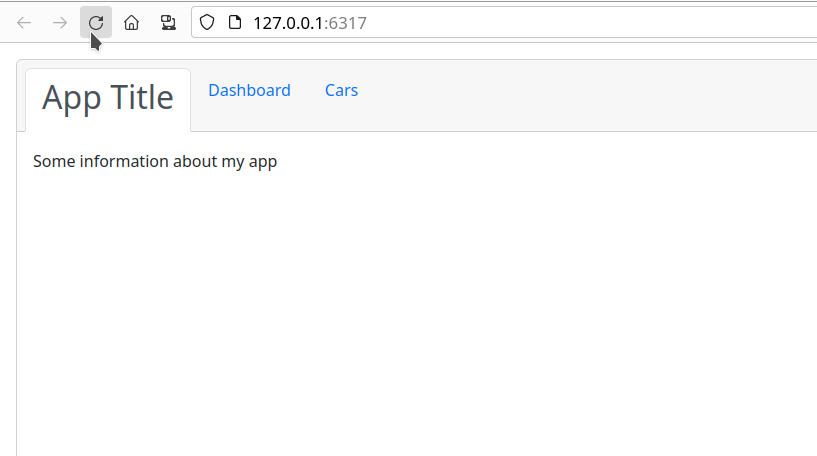
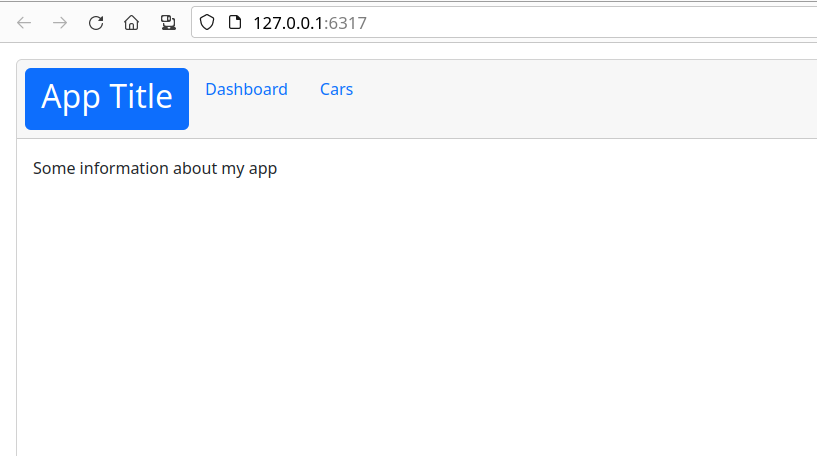
App Layout
- The body is laid out using a responsive grid
- responsive: adapts to different screen sizes
- different on a cell phone than a laptop
- boxes are rearranged automatically
- Structure is introduced by cards


Cards
04_layout.R
- Cards help with structuring output
- Cards have a
classparameterbg-xxxproduces a colored boxborder-xxxproduces a box with a colored outlinecard_header(..., class = "bg-xxx")produces a box with a colored header?validStatuses, represented byxxxabove, areprimary,secondary,success,info,warning,danger,light,dark

Nested Layouts
- Body is wrapped in a
page_fillablefunction - Cards are aligned using columns
- Additional rows can be created by nesting
layout_columns()functions
04_layout2.R

Nested Layouts
- Body is wrapped in a
page_fillablefunction - Cards are aligned using columns
- Additional rows can be created by nesting
layout_columns()functions
04_layout2.R

Tab Layouts
Code: 05_tabsets.R tab1 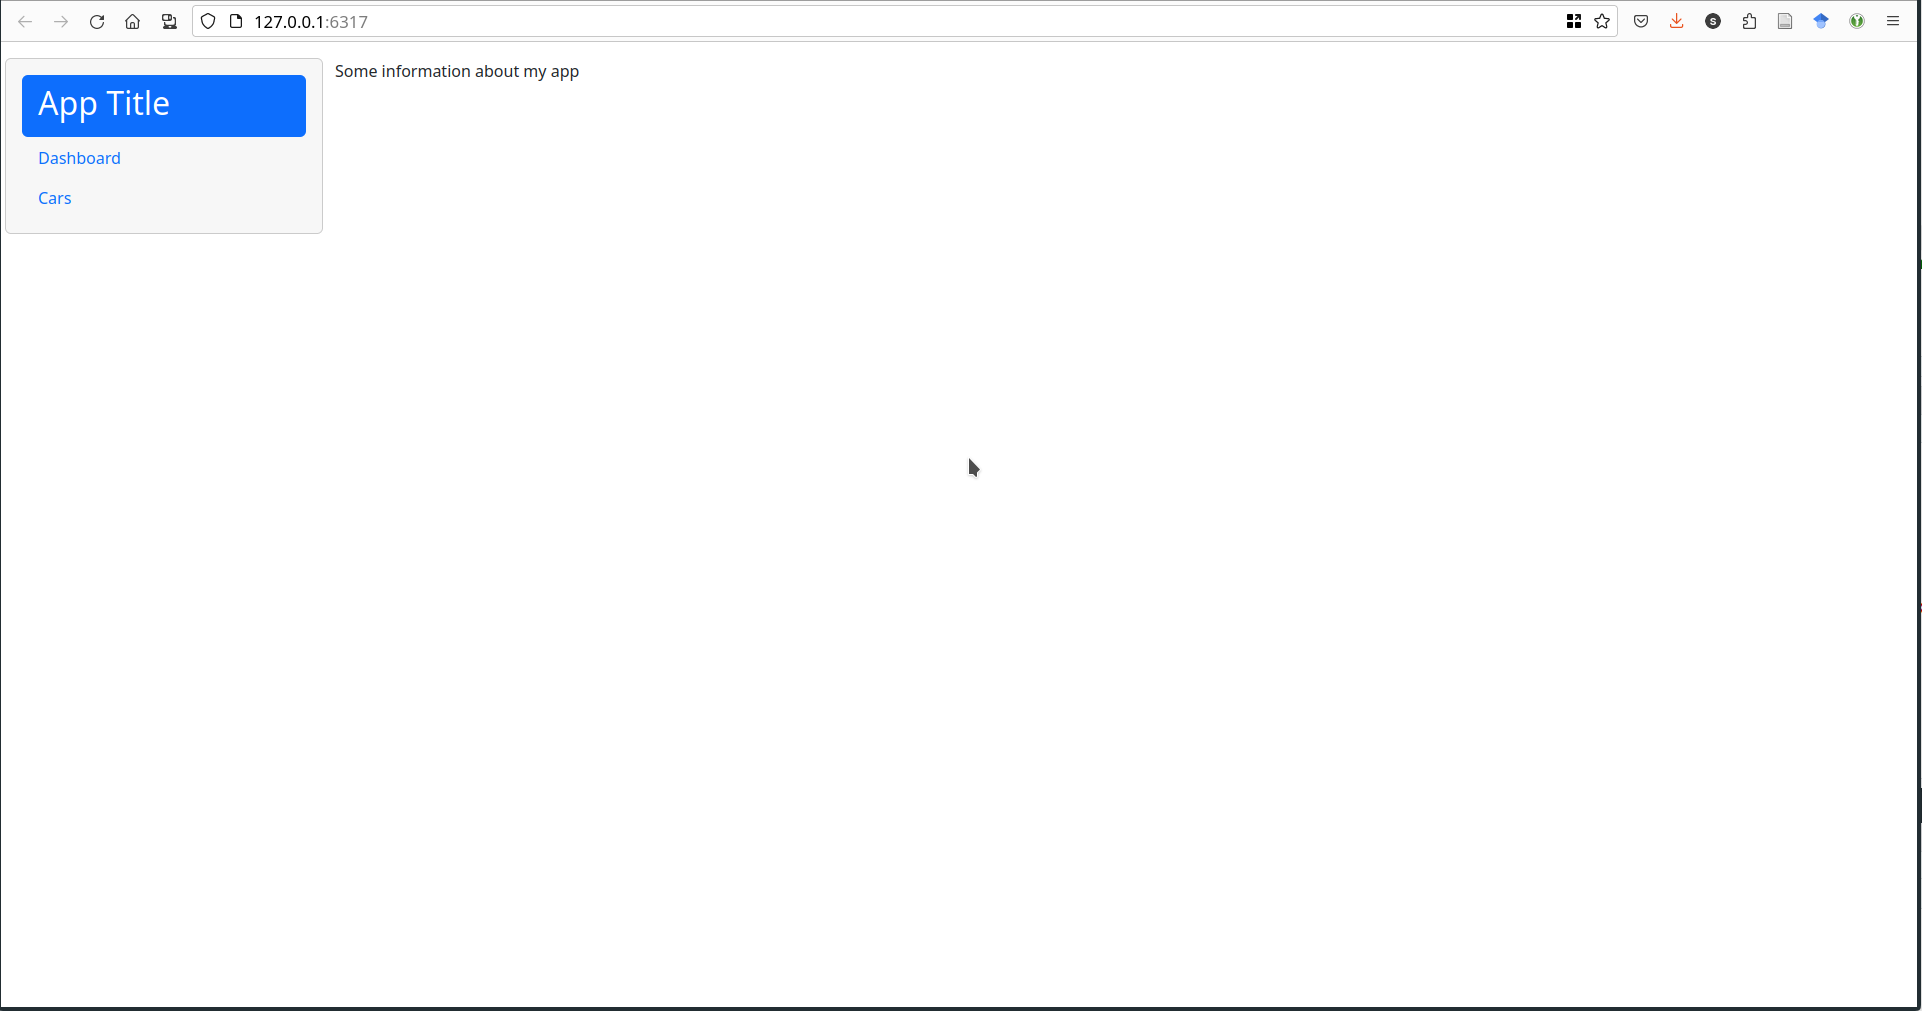 tab2
tab2 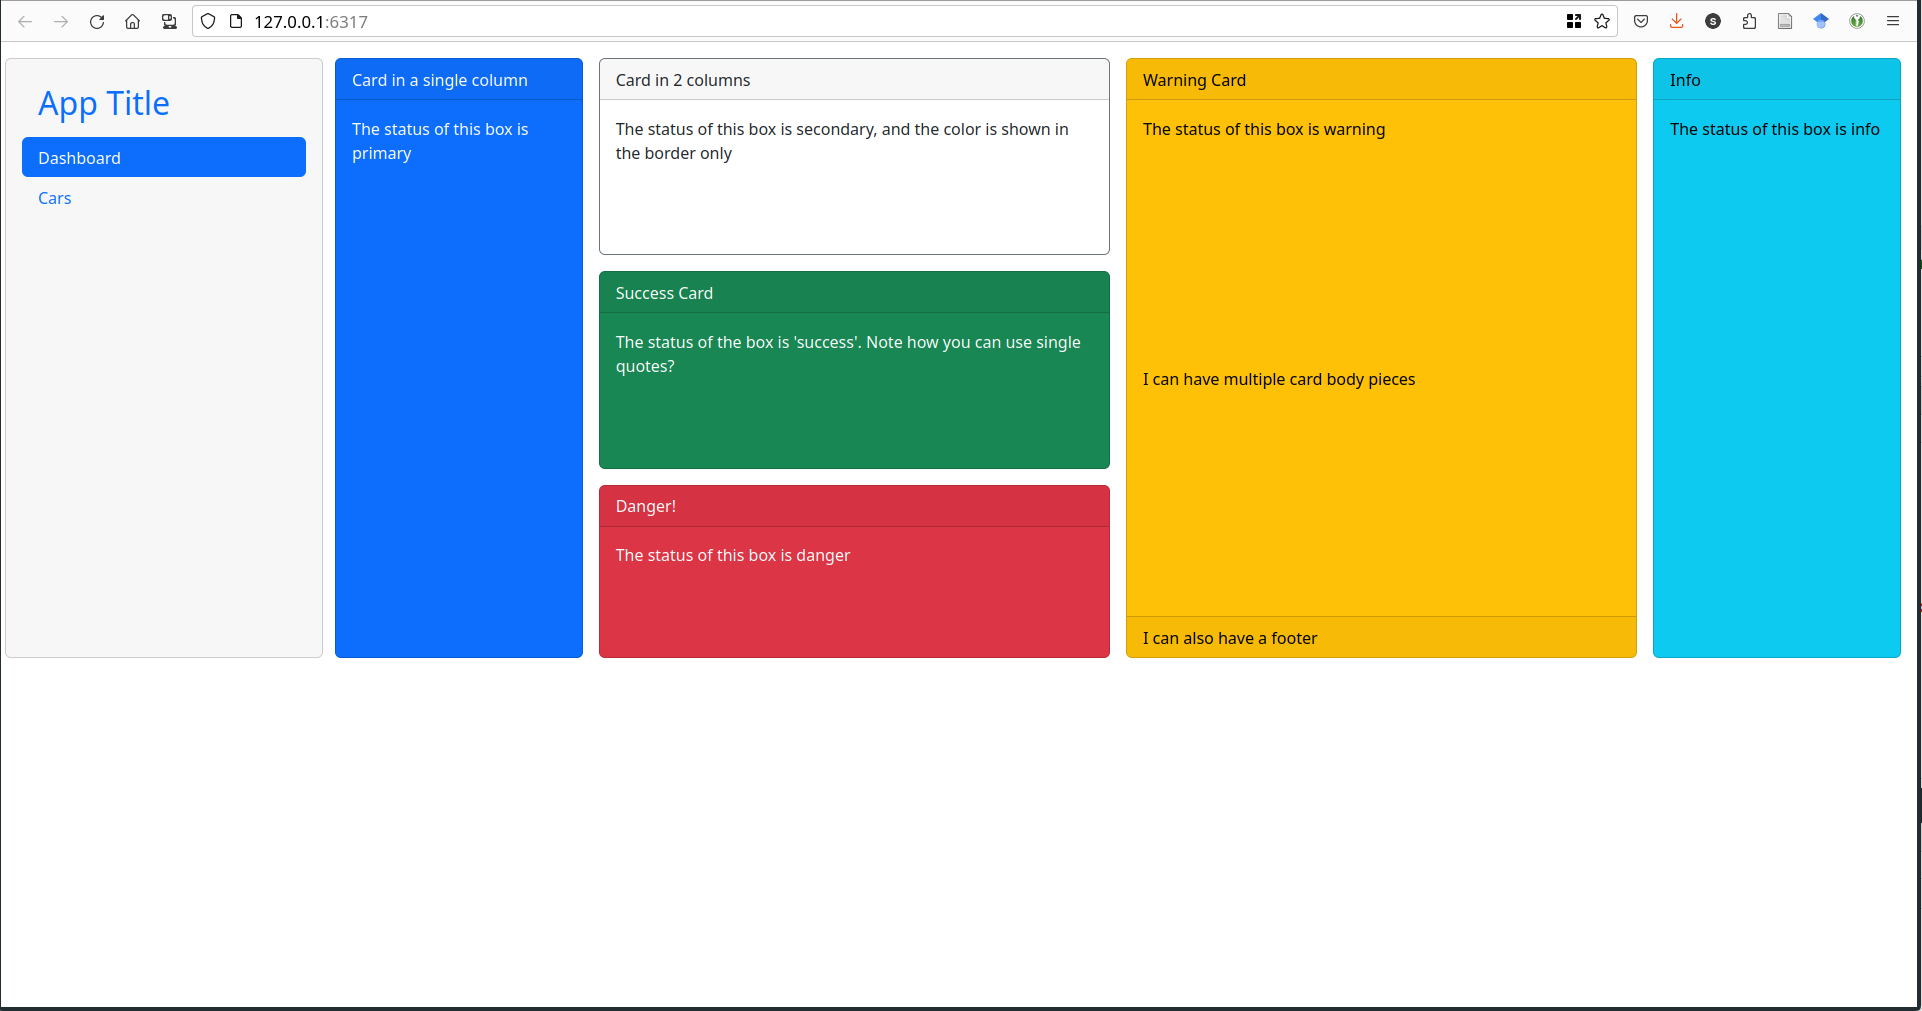 tab3
tab3 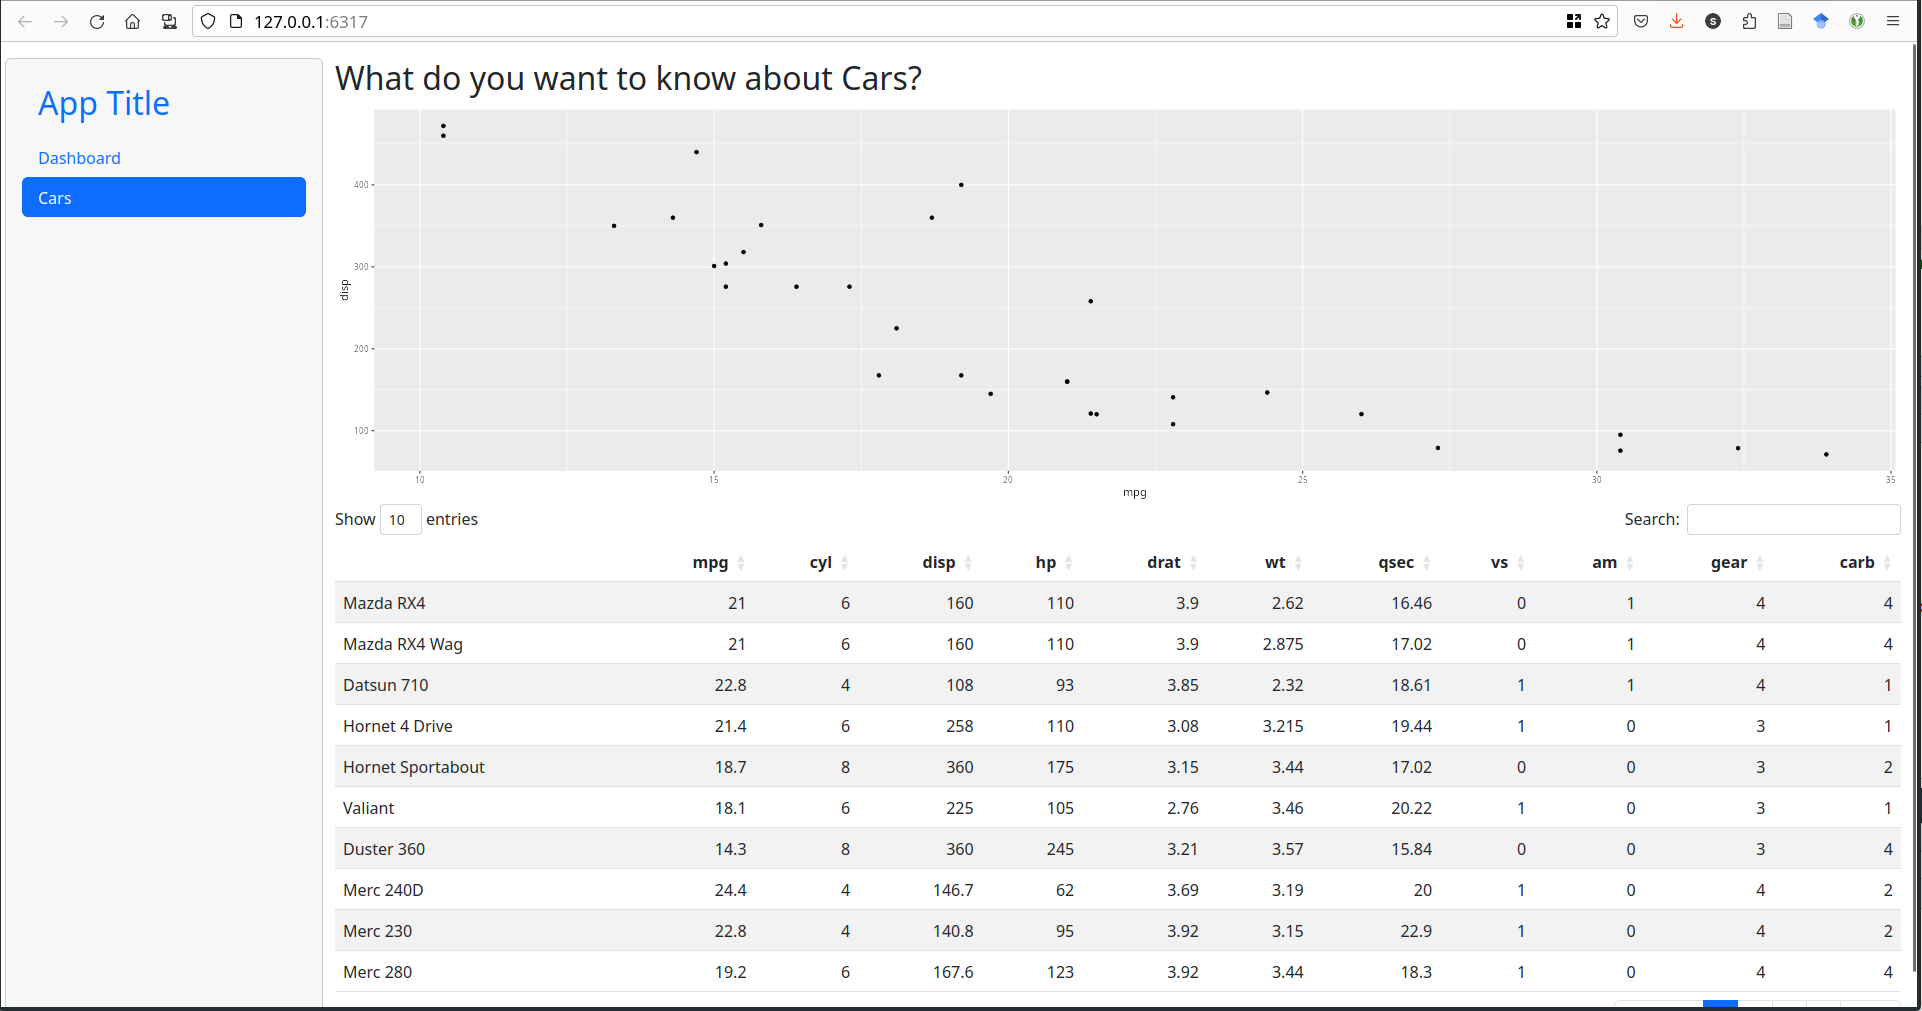
Tabs
- Different options for multi-page applets:
navset_tab()![]()
navset_pill()![]()
navset_bar()![]()
navset_pill_list()![]()
navset_card_tab()![]()
navset_card_pill()![]()
Resources
- RStudio Tutorial: https://shiny.rstudio.com/articles/reactivity-overview.html
- Shiny Cheat Sheet: https://raw.githubusercontent.com/rstudio/cheatsheets/master/shiny.pdf
- Gallery of Shiny Apps: https://shiny.rstudio.com/gallery/
- bslib documentation: https://rstudio.github.io/bslib/
 This work is licensed under a Creative Commons Attribution-NonCommercial-ShareAlike 4.0 International License.